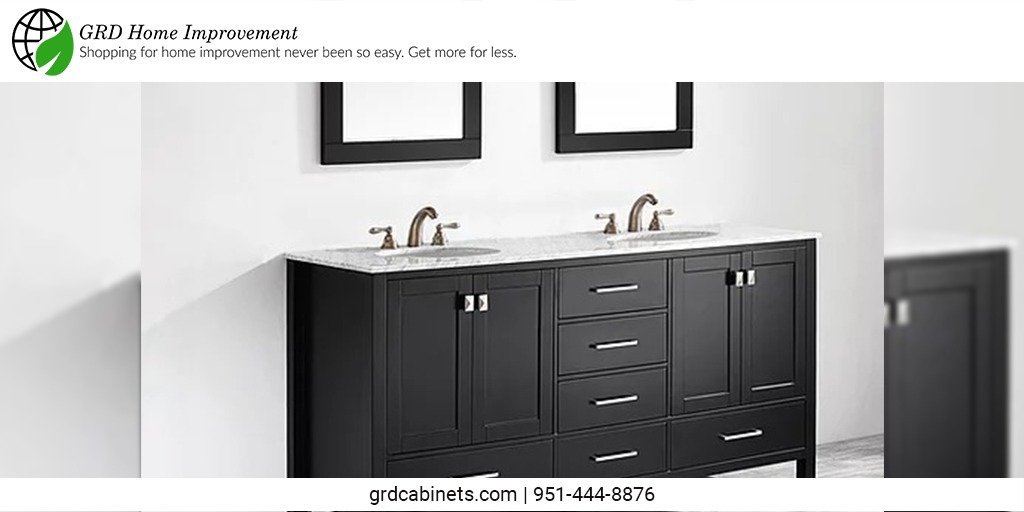
Install A Freestanding Bathroom Vanity Without Ruining the Look
It’s time to install a custom-made freestanding bathroom vanity that will not only enhance the look of your space but also provide you with comfort with a modern feel. But installing your freestanding bathroom vanity can sometimes seem overwhelming; however, it’s pretty simple if you have the fitting instructions.
We’ve put together a step-by-step guide to help you understand how to install built-in vanity cabinets without destroying the aesthetic of your room. From where to put it to what tools you should have, we’ll explain everything you need to know to install one yourself.
The Tools You’ll Need
A drill is the first thing you’ll need to install vanity cabinets. You’ll also need screws, anchors, and a measuring tape or stick. If the vanity is on hardwood floors, you’ll need to get felt pads to avoid scratching the flooring.
Preparing The Area
The first step to installing built-in bathroom vanity cabinets is to prepare the area where you’ll work. Ensure all your tools are nearby and there’s enough room to work comfortably. Keep the door open, so you have plenty of light, or if the space is small, ensure extra lighting is available.
Installing The Vanity
Place the vanity on a flat surface and ensure it is level. Use a spirit level to ensure that it is even. Next, attach the sink to the top of the cabinet using bolts or screws. After this, use a pencil and mark where you need to drill holes for the faucet handles. Once this is done, place your faucet handles in position and secure them by digging through your marks with a drill bit smaller than the handle itself.
Connecting The Sink and Faucet
The most crucial step in installing a bathroom vanity is connecting the sink and faucet. Start by turning off the water at the main valve for your home. Next, cut a hole in the back of your sink cabinet to accommodate the plumbing connections. Make sure you have all of your tools before starting this project.
Finishing Up
When you are done installing your new vanity, it is crucial to ensure it is level. You want to do this so that when you fill the sink with water, there will be no leaks. Next, take a damp cloth and clean the area around the base of your new vanity, and use an alcohol wipe or similar to clean off all fingerprints. For added peace of mind, apply a sealant to the edges of your new vanity cabinets before you install it in its final spot.
The Way Around
Installing a freestanding bathroom vanity may seem easy, but it can be downright destructive if you must be more careful and prepared for the job ahead of time. With these tips and tricks, you can learn how to install your freestanding vanity without hiring an expensive contractor or specialized team to do the job for you. Follow these instructions carefully, and in no time, you’ll have your new vanity installed with ease and precision!
